acf domain was triggered too early. This is usually an indicator for some code in the plugin or theme running too early. Translations should be loaded at the init action or later. Please see Debugging in WordPress for more information. (This message was added in version 6.7.0.) in /home/philipf84/mydesignjournal.ie/wp-includes/functions.php on line 6121
Drawing Definitions
An Gaelaras- O’Donnell/Tuomey
Some brief definitions of different types of drawing used by architects
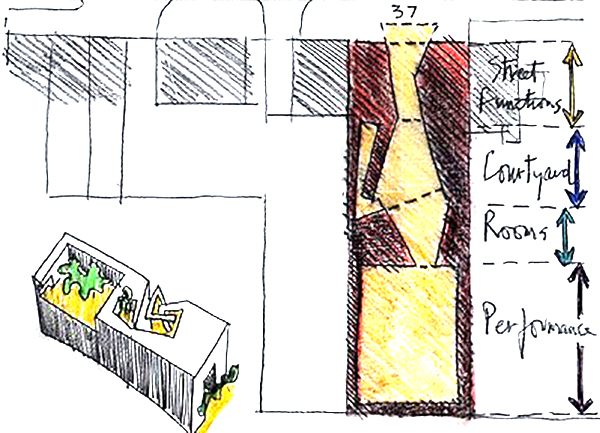
Concept sketch:
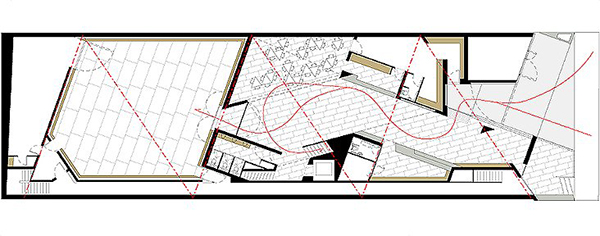
Floor Plan:
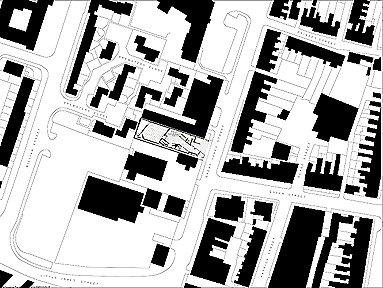
Site Plan:
Elevation:
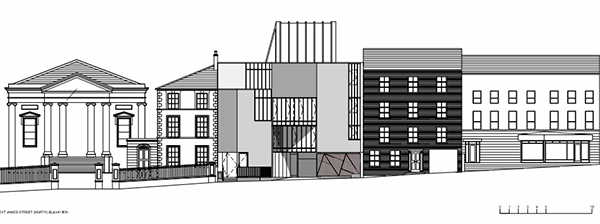
Section:

The whole idea behind creating scale drawings is to allow the drafter to create a drawing that is proportionately the same as the object/building it represents.
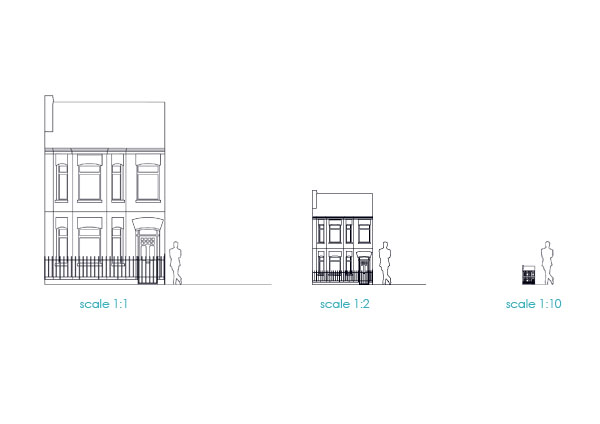
What is a scale drawing?
A drawing that shows a real object with accurate sizes except they have all been reduced or enlarged by a certain amount.
The length in the drawing : The matching length on the real thing
For Example
1 mm on paper = 1 mm on the building
1 mm on paper = 2 mm on the building


1 mm on the paper = 10 mm on the building
Using a scale ruler
Using scale ruler we can create accurate drawings of both very large objects or very small objects that fit onto a standard size piece of paper. The scale rulers shown below are used for scaling larger objects, which would be drawn in meters.
Look at the scale ruler labelled 1:200. Imagine you lay this on a piece of paper and drew a line from 0 to 5. This line would be 5 m long at the scale of 1:200.
See if you can draw a 5 m line at 1:500
To practice, why not draw a plan of your classroom at 1:100? For some tips on how to draw a plan see below.
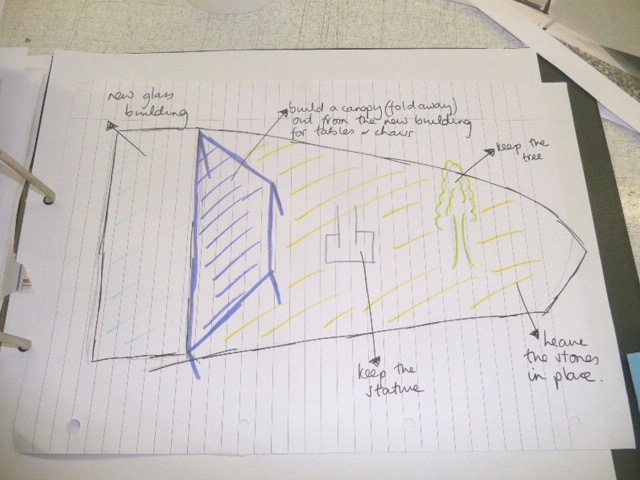
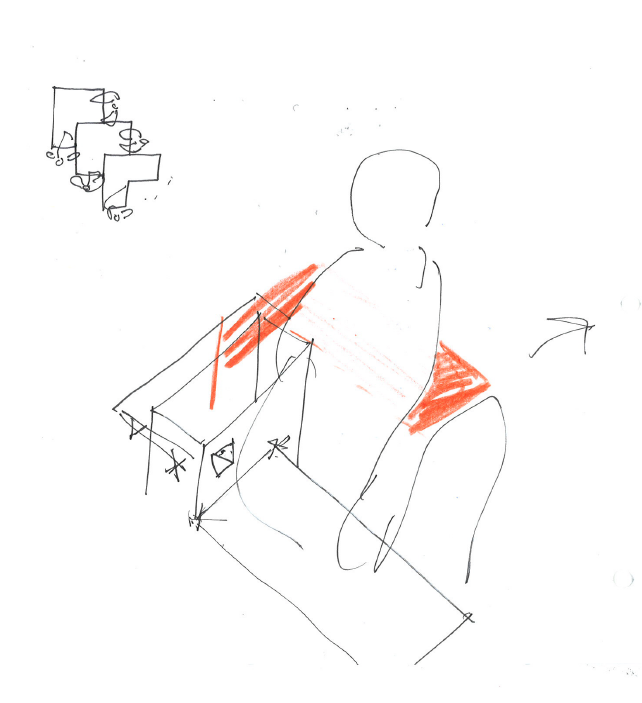
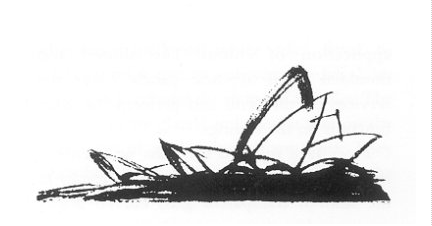
Concept Sketch……….A thought on paper! You don’t need a “how to” guide here – just let your ideas take shape. Don’t worry about what your drawings look like at this stage -its all about getting ideas down on paper. You can learn more about technical drawing in later sections. Here are some examples of Concept Sketches:

What you’ll need:
Here are some tips to get started on drawing:
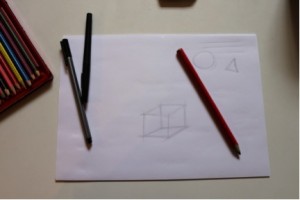

Tips:
How to: make a collage
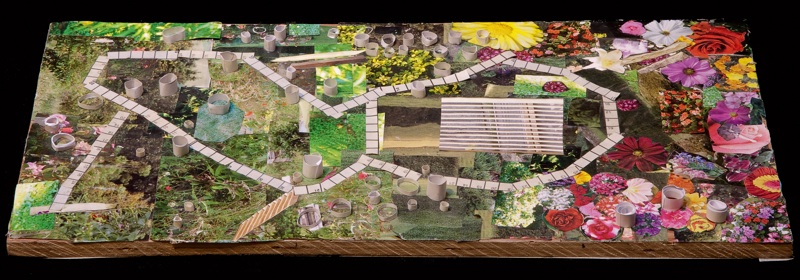
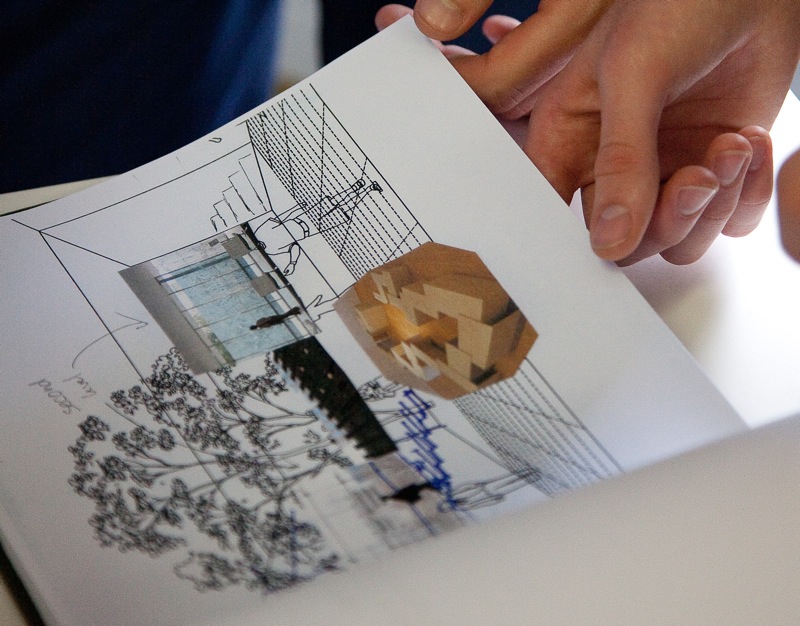
A collage is made by assembling a selection of ready-made materials to create a new image. Materials such as paper, card, magazine cut-outs, natural or recycled items can be used. Its a useful creative tool as you can move shapes, colours and textures around before deciding on the final arrangement and glueing it together. Collage can be combined with drawing as a way to add references to particular textures or colours.
Tips:
What you’ll need:
Link: sample different styles of Collage
How to: Draw in perspective
One Point Perspective
What you’ll need:

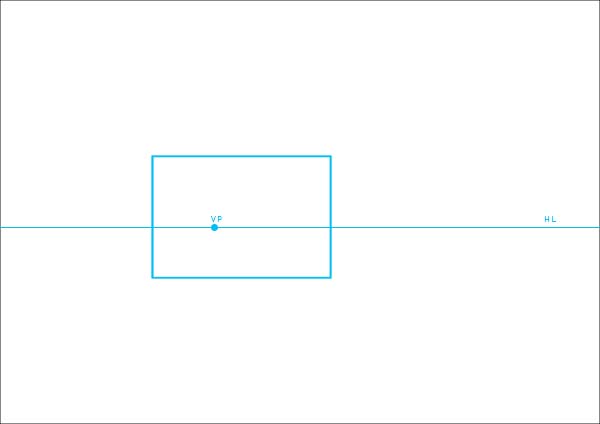
Lightly draw the horizon line (HL) across the page. The HL is the height of your eye above the floor. Mark the vanishing point (VP) on the horizon line. The VP represents the viewer of the scene relative to the side walls.
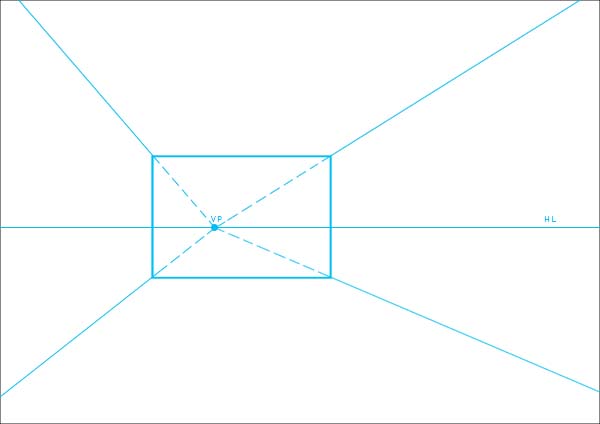
Lightly draw lines from the VP through the four corners of the end wall. Then extend them heavily to edges of the paper. The heavier portions of the lines depict the outer limits of the space.
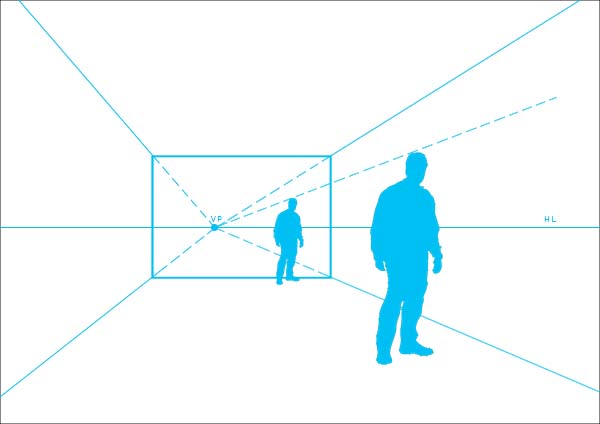
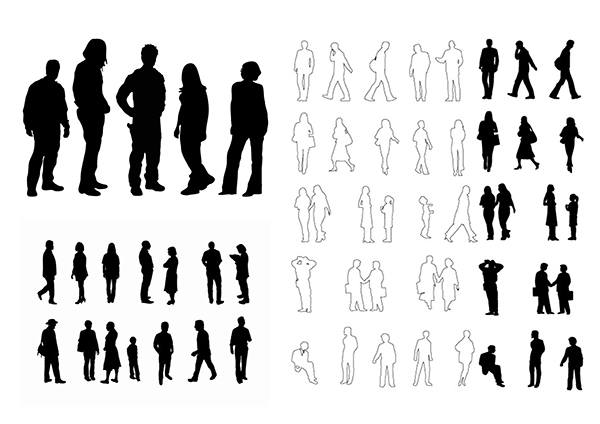
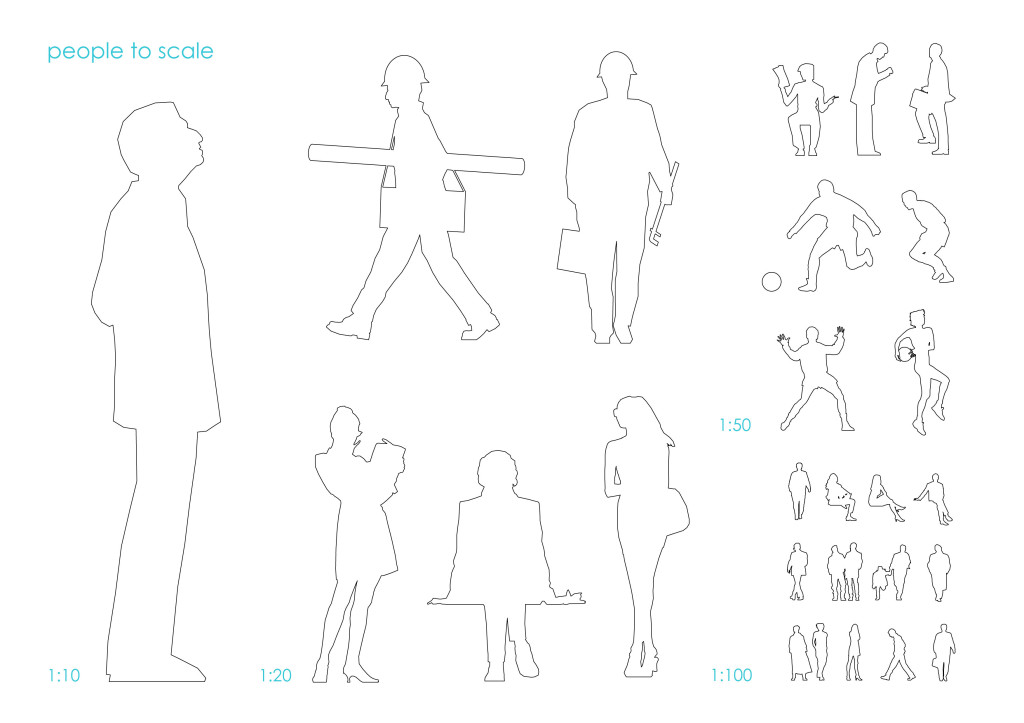
To include a person in the drawing, mark the height of a person on the back wall, indicated here as a silhouette. From the VP draw a line out to touch the top of the persons head and extend out. This line represents the height of the person and therefore you can add in a person at any point along this line.
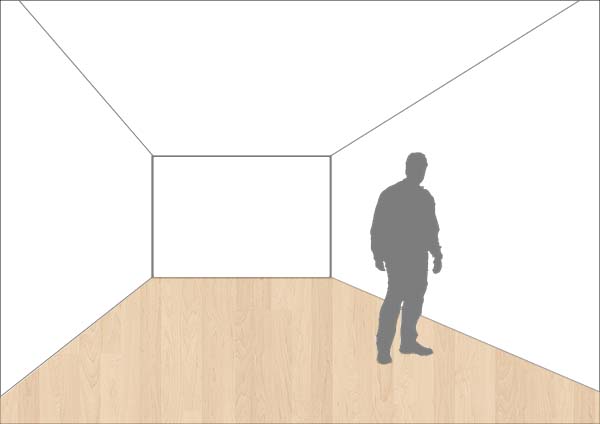
To finish the drawing you can add collage and further detail.
Two Point Perspective

How to: Draw a Plan
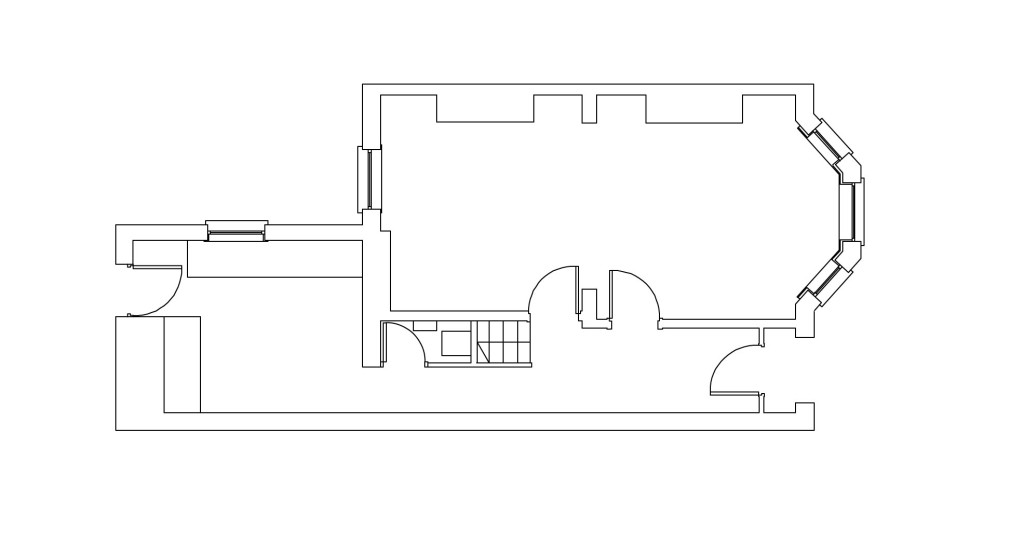
Measure your outside or boundary lines as accurately as possible. Always use double lines to indicate a solid being cut through.
Note: Solids are usually structural elements. If you are trying to decide what should be included – Imagine you are standing in the space you wish to draw, include everything that is being cut through about a meter above ground level or waist height. Once all of the outlines are drawn add details such as openings – windows, doors and stairs. Using thinner/lighter lines insert non structural parts such as internal walls. At this stage all of the major elements are drawn. You can choose the level of detail you add such as adding furniture, fixtures and fittings. Colour and materials can also be added if you feel it is appropriate.
How to: Draw a Section
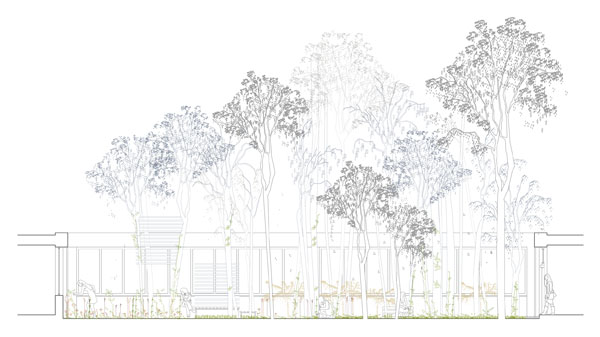
A section drawing is a imagined ‘slice’ through a building. A section allows you to describe the relationship between interior spaces, exterior spaces and floor levels. Identify the area in the design you want to investigate further. Using your plan, draw a line through the area of study. This line represents the ‘slice’ you are taking through the space. Using light lines, project the points in plan that intersect with the ‘slice’. A quick survey of the building will get you the floor to ceiling height of the spaces.
Useful Images
An Gaelaras- O’Donnell/Tuomey
Some brief definitions of different types of drawing used by architects
Concept sketch:
Floor Plan:
Site Plan:
Elevation:
Section:
The whole idea behind creating scale drawings is to allow the drafter to create a drawing that is proportionately the same as the object/building it represents.
What is a scale drawing?
A drawing that shows a real object with accurate sizes except they have all been reduced or enlarged by a certain amount.
The length in the drawing : The matching length on the real thing
For Example
1 mm on paper = 1 mm on the building
1 mm on paper = 2 mm on the building
1 mm on the paper = 10 mm on the building
Using a scale ruler
Using scale ruler we can create accurate drawings of both very large objects or very small objects that fit onto a standard size piece of paper. The scale rulers shown below are used for scaling larger objects, which would be drawn in meters.
Look at the scale ruler labelled 1:200. Imagine you lay this on a piece of paper and drew a line from 0 to 5. This line would be 5 m long at the scale of 1:200.
See if you can draw a 5 m line at 1:500
To practice, why not draw a plan of your classroom at 1:100? For some tips on how to draw a plan see below.
Concept Sketch……….A thought on paper! You don’t need a “how to” guide here – just let your ideas take shape. Don’t worry about what your drawings look like at this stage -its all about getting ideas down on paper. You can learn more about technical drawing in later sections. Here are some examples of Concept Sketches:
What you’ll need:
Here are some tips to get started on drawing:
Tips:
A collage is made by assembling a selection of ready-made materials to create a new image. Materials such as paper, card, magazine cut-outs, natural or recycled items can be used. Its a useful creative tool as you can move shapes, colours and textures around before deciding on the final arrangement and glueing it together. Collage can be combined with drawing as a way to add references to particular textures or colours.
Tips:
What you’ll need:
Link: sample different styles of Collage
One Point Perspective What you’ll need
1. Draw the end wall of the room in correct proportion. In this example the width is 8cm and the height is 6cm.
2. Lightly draw the horizon line (HL) across the page. The HL is the height of your eye above the floor. Mark the vanishing point (VP) on the horizon line. The VP represents the viewer of the scene relative to the side walls.
3. Lightly draw lines from the VP through the four corners of the end wall. Then extend them heavily to edges of the paper. The heavier portions of the lines depict the outer limits of the space.
4. To include a person in the drawing, mark the height of a person on the back wall, indicated here as a silhouette. From the VP draw a line out to touch the top of the persons head and extend out. This line represents the height of the person and therefore you can add in a person at any point along this line.
5. To finish the drawing you can add collage and further detail.
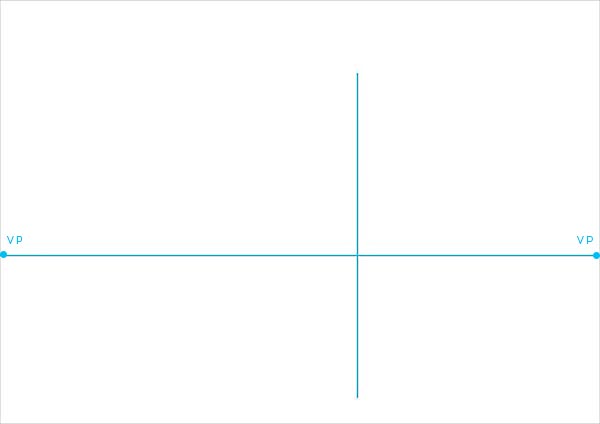
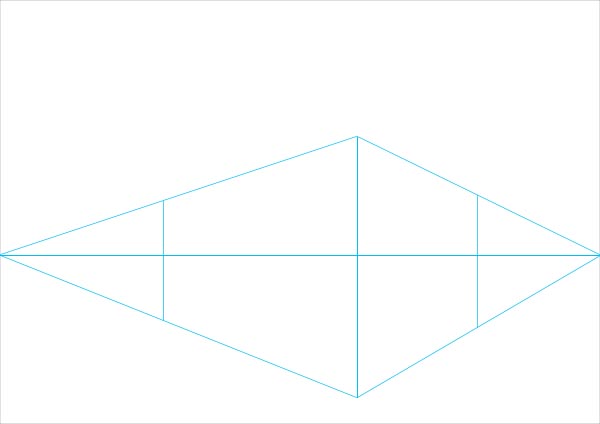
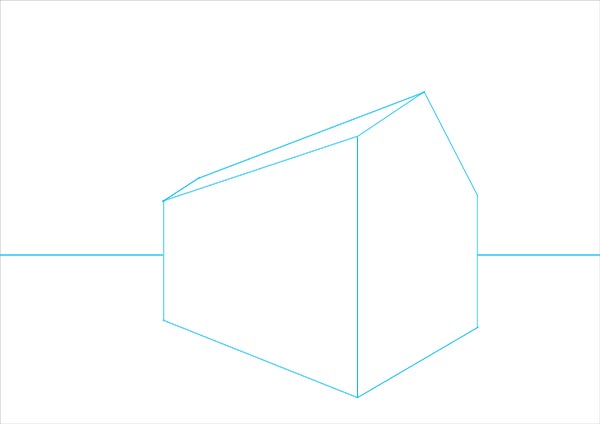
Two Point Perspective

Step 3.
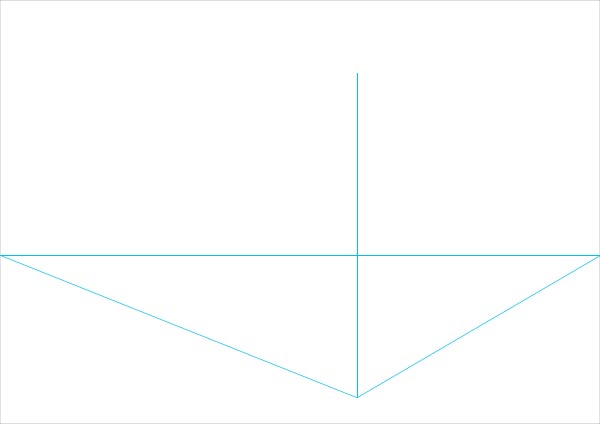
3. Choose two vanishing points along the horizon line. From these points draw a line to intersect with the vertical line.

Step 4
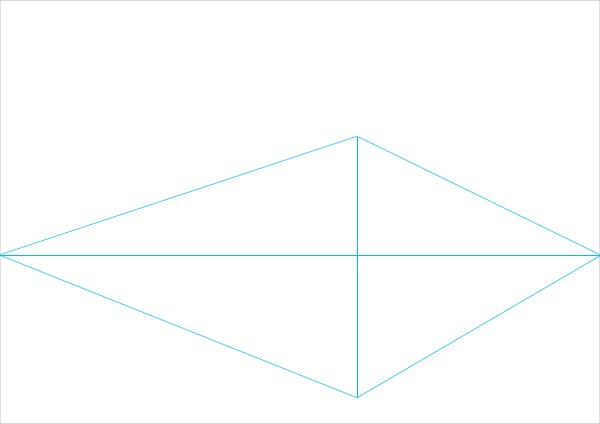
4. Repeat the steps, always projecting the top and bottom of the line back to the vanishing points.

Step 6.
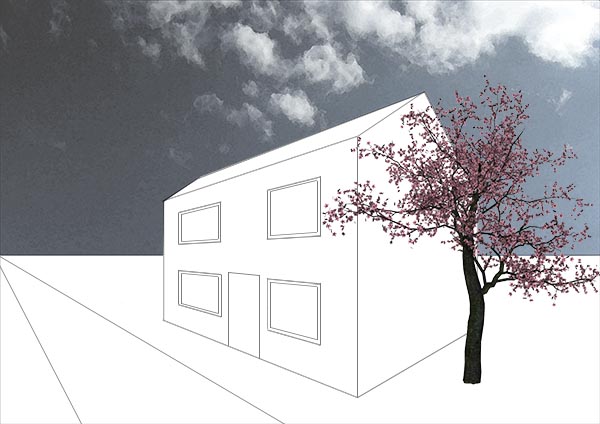
6. Now you know the basics, you can trace over the drawing to transform it into whatever you want. A rectangle becomes a house.
1. Measure your outside or boundary lines as accurately as possible. Always use double lines to indicate a solid being cut through.
Note: Solids are usually structural elements. If you are trying to decide what should be included – Imagine you are standing in the space you wish to draw, include everything that is being cut through about a meter above ground level or waist height.
2. Once all of the outlines are drawn add details such as openings – windows, doors and stairs.
3. Using thinner/lighter lines insert non structural parts such as internal walls. At this stage all of the major elements are drawn.
4. You can choose the level of detail you add such as adding furniture, fixtures and fittings. Colour and materials can also be added if you feel it is appropriate.
A section drawing is a imagined ‘slice’ through a building. A section allows you to describe the relationship between interior spaces, exterior spaces and floor levels.
1. Identify the area in the design you want to investigate further.
2. Using your plan, draw a line through the area of study. This line represents the ‘slice’ you are taking through the space.
3. Using light lines, project the points in plan that intersect with the ‘slice’. A quick survey of the building will get you the floor to ceiling height of the spaces.
